Implementing OHDSI on Databricks Using Broadsea
Introduction
This guide will walk through the creation of a new OHDSI stack using Broadsea and using Databricks for the CDM on Windows. This guide assumes that you have Docker installed and a CDM instance you can point to in Databricks.Shutdown PostgreSql
Before you get started, make sure you do not have a local instance of PostgreSql running as a service.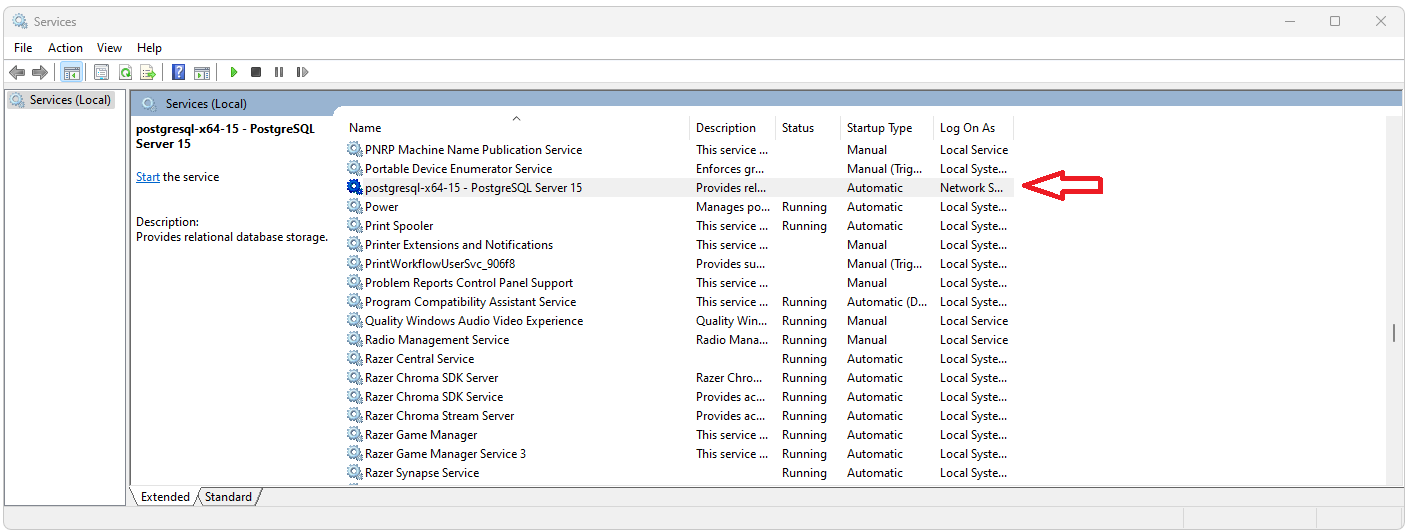
Start Docker
If you do not have Docker Desktop you can download and install it from https://www.docker.com/products/docker-desktop/. Start Docker Desktop from either the short cut if it was installed or from the Windows search menu.Clean Docker
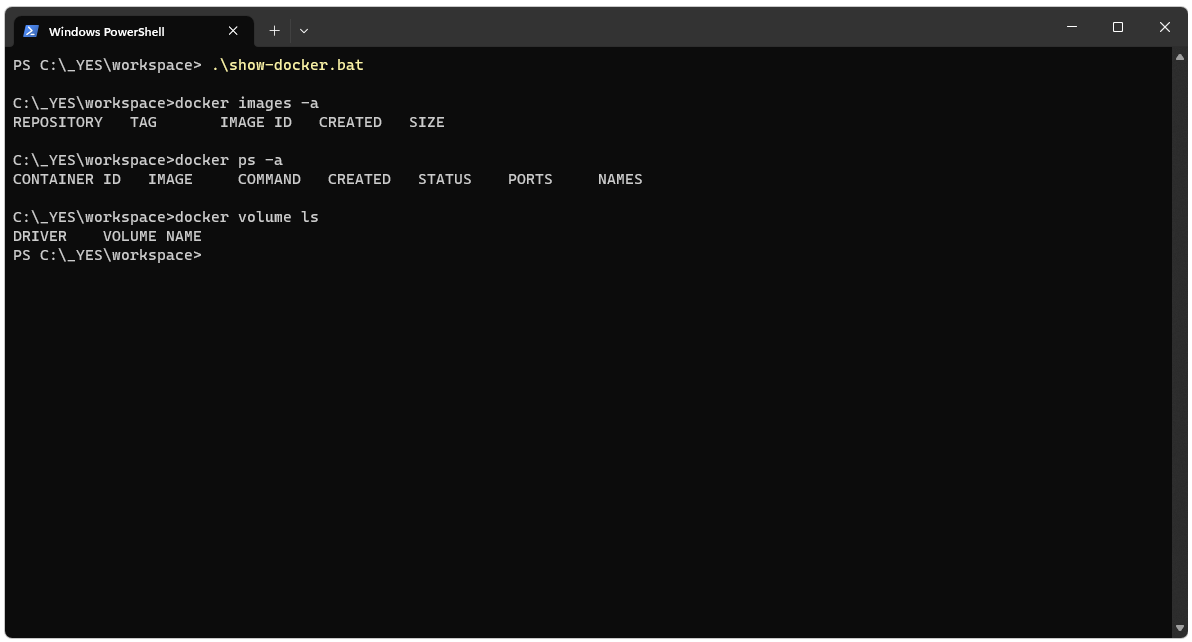
To get started, it’s not a bad idea to clear out your Docker instance. The two scripts below can be run from PowerShell. The first script will delete all volumes, containers, and images from your Docker instance. The second script will show you if there are any volumes, containers, or images remaining in your Docker instance.clean-docker.sh
show-docker.bat
The clean script will launch a bash window and ask for comfimation that you really want to delete everything.
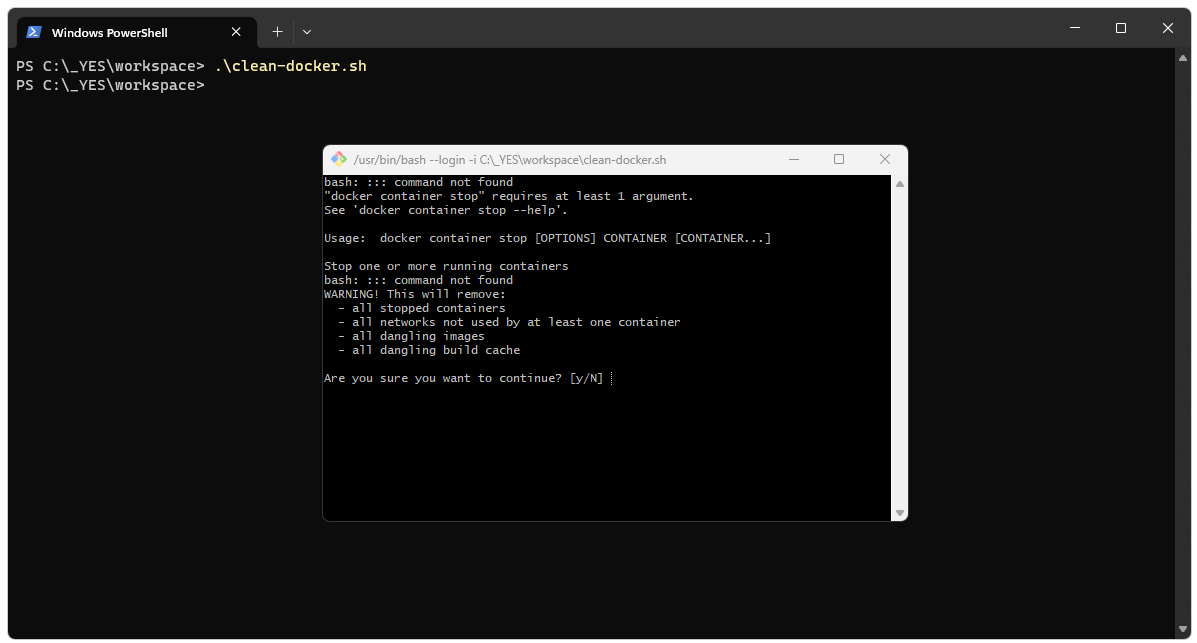
The show script can be used to confirm there’s nothing left on Docker.
Confirm Docker is Running
After Docker has been started and cleaned you should see something like what is shown below in Docker Desktop.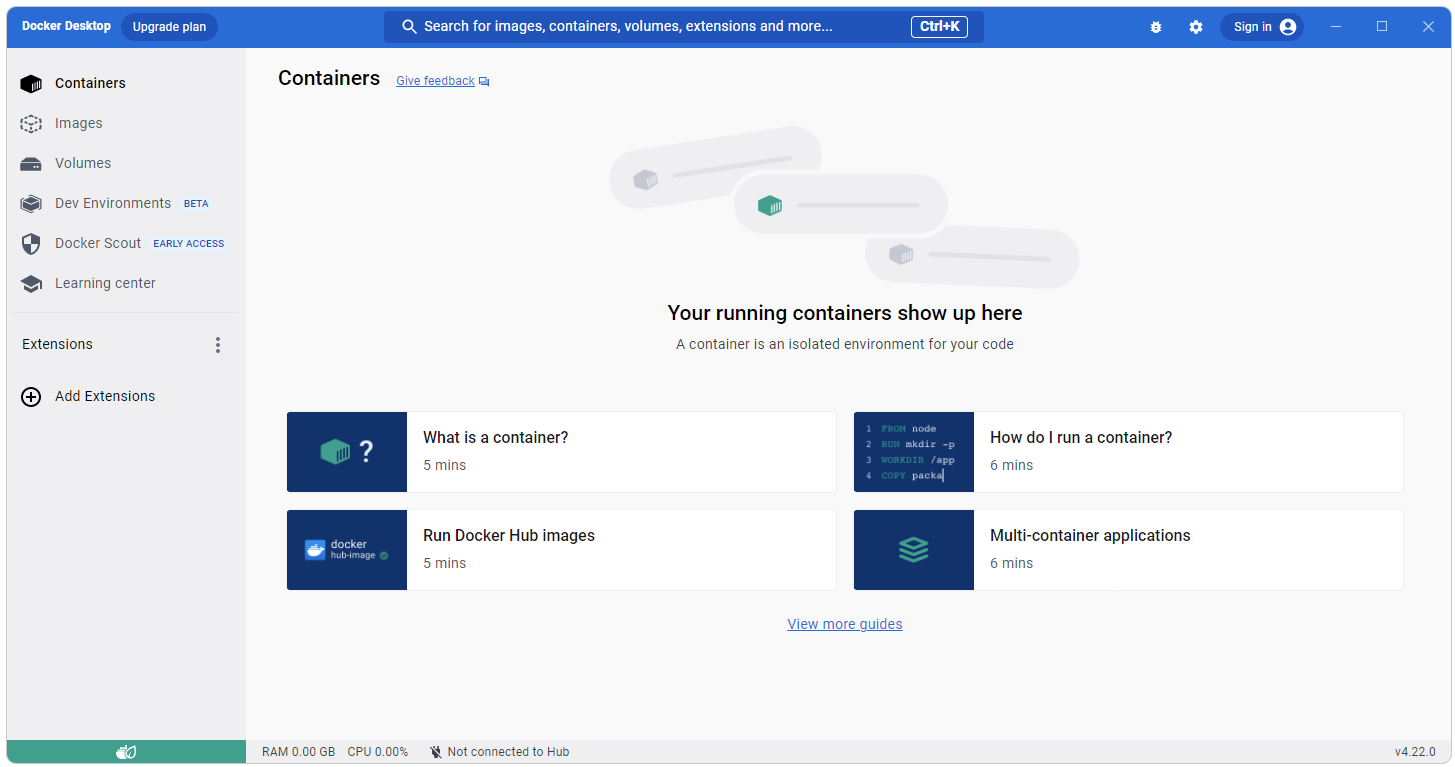
Clone Broadsea from Github
Clone Broadsea using:git clone https://github.com/OHDSI/Broadsea
Start Broadsea
Start Broadsea in the ususal way. Open a cmd prompt, navigate to the Broadsea directory and executedocker compose pull && docker-compose --profile default up -d
Confirm Broadsea
When Broadsea is running you should see something like what is shown below in the Docker Desktop application.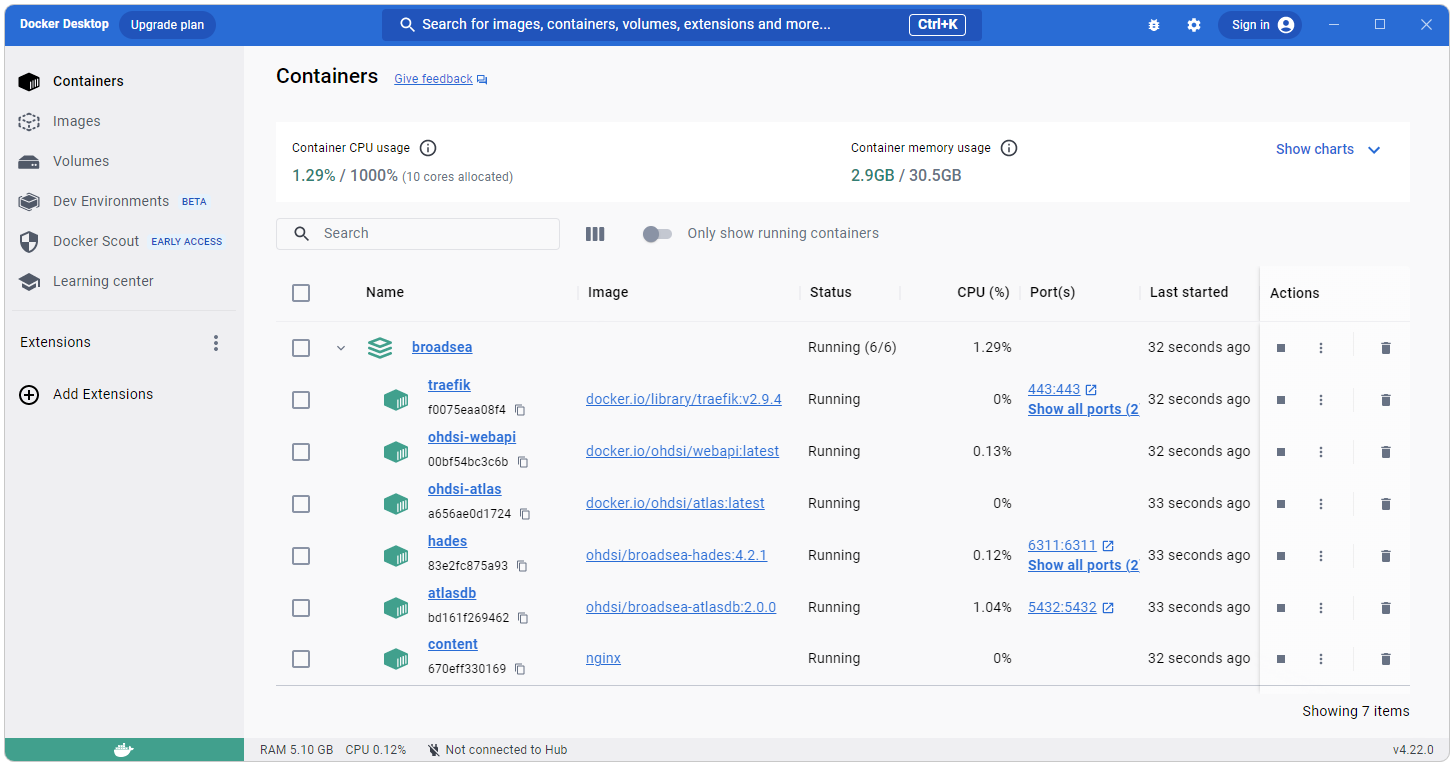
Restart Docker and Launch Atlas
Restart Docker:docker compose --profile default down docker compose pull && docker-compose --profile default up -d
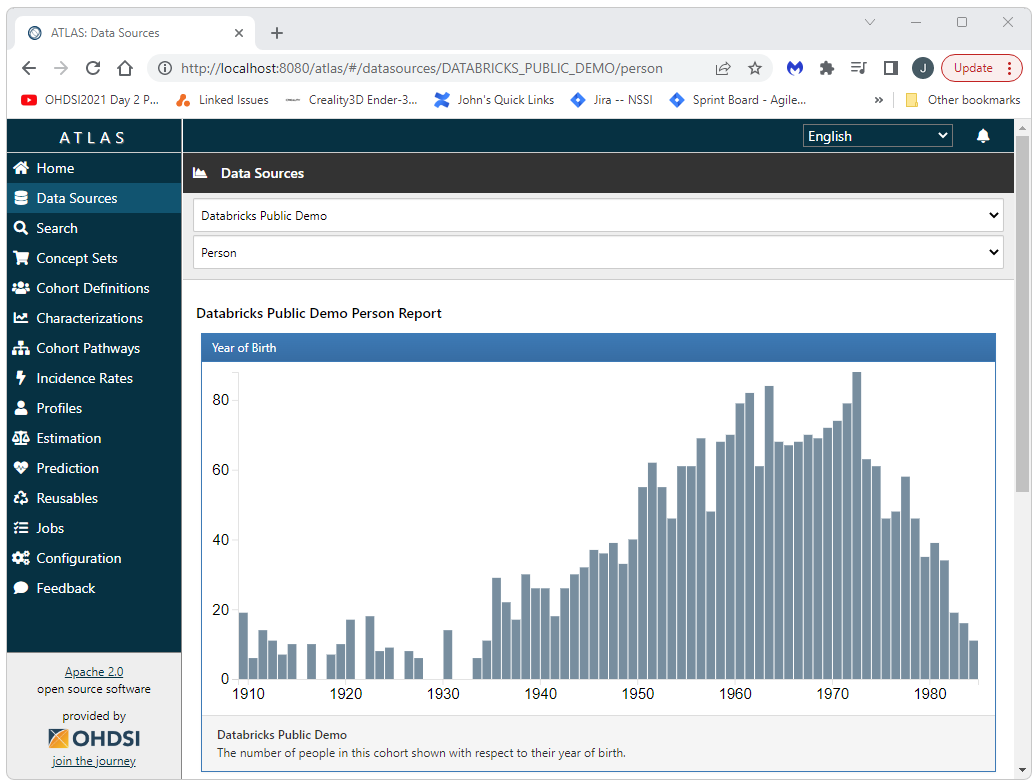
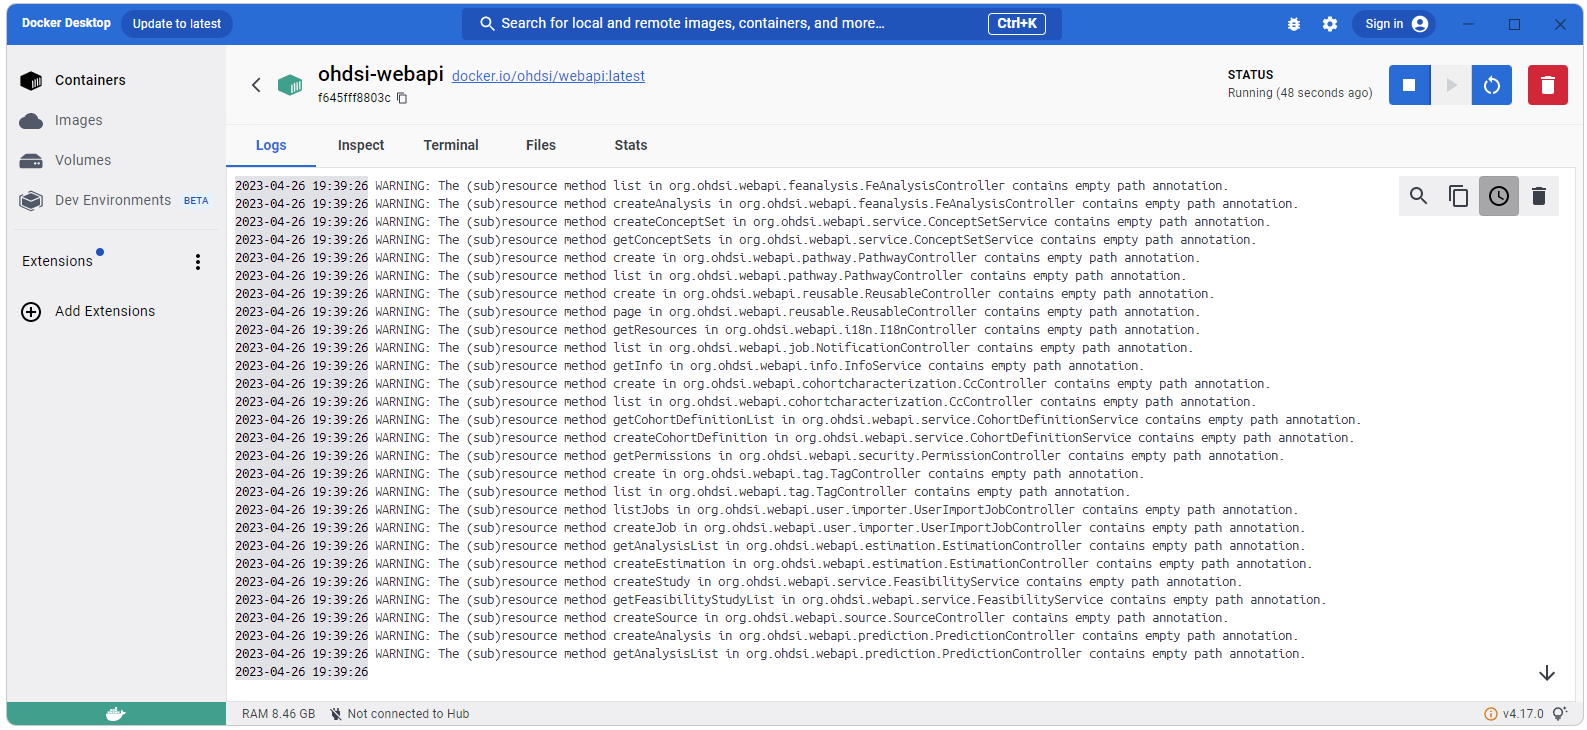
Open http://127.0.0.1/atlas in a browser and navigate to Data Sources. Select your data source (in this case “Databricks Demo” and then select a report, the Person report is shown in the screen shot below). When you do this you should not see any errors in the Docker output for webapi as shown below.
 OHDSI Databricks User Group